Sustainable Cabin Materials
2024
Construction Innovation
In collaboration with a local community partner, my peers and I selected and prepared the most viable and sustainable cabin designs for construction. These cabins incorporated innovative techniques such as round pole framing, gabion foundations, and natural infills finished with Earth Plaster.
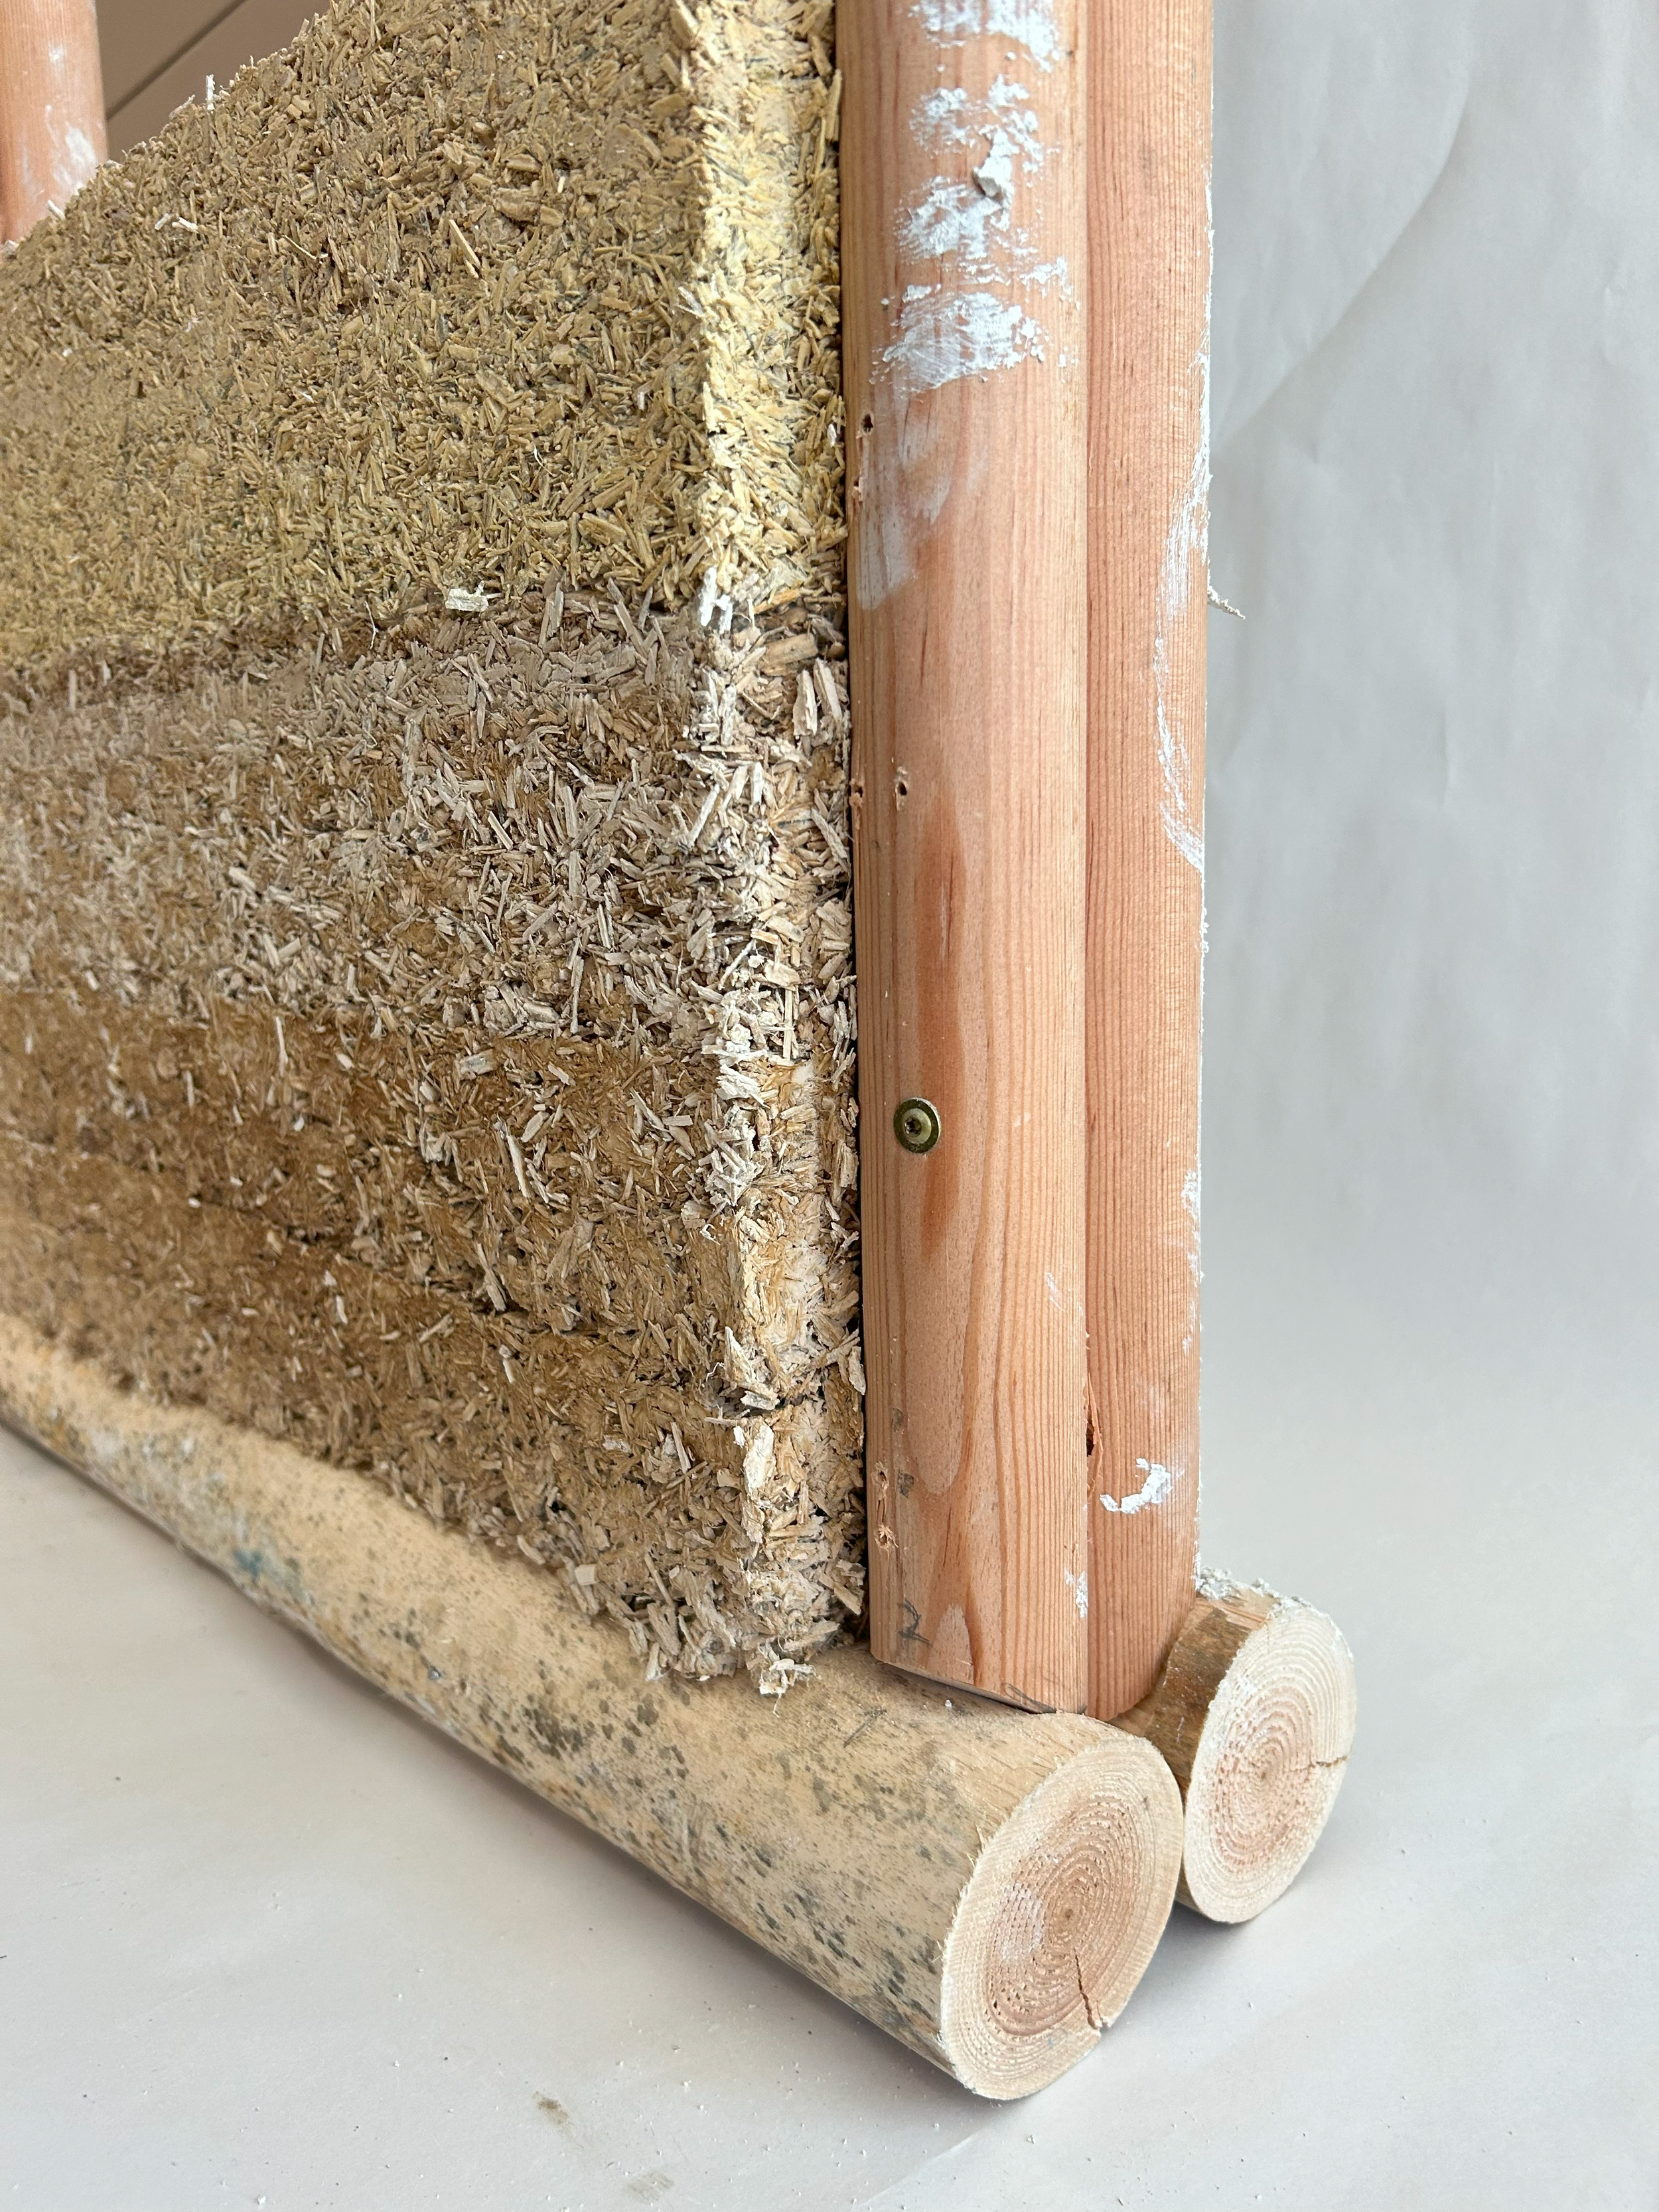
My primary role focused on researching and constructing the tamped hemp infill wall model. This hemp-based infill was selected for its remarkable versatility, insulation, and thermal properties, positioning it as an eco-friendly alternative to conventional materials. Within the project, we experimented with various blends of hemp, combining it with clay and lime (hempcrete), to achieve an optimal balance of structural strength and thermal efficiency. The results demonstrated hemp's effectiveness as a sustainable and relatively simple solution for alternative construction practices.
Additionally, I contributed to the construction and experimentation with chip and slip, as well as wattle and daub techniques. This project is ongoing and was exhibited for the community partners on site.
Softwares Used: Revit, Photoshop
Hemp Infill: Detailed Wall Render
Technical Drawings: Hemp Infill
Material Index: Tamped Hemp
Within this project framework, we experimented with diverse blends, exploring combinations of hemp with clay and hemp with lime (commonly referred to as hempcrete).
Layer 1:
Hemp
(2 Parts)
Clay
(1 Part)
Water
(1 Part)
Layer 2:
Hemp
(3 Parts)
Clay
(1 Part)
Water
(1 Part)
Layer 3:
Hemp
(4 Parts)
Clay
(1 Part)
Water
(1 Part)
Layer 4:
Hemp
(3 Parts)
Lime
(1 Part)
Water
(1 Part)
Layer 5:
Hemp
(4 Parts)
Lime
(1 Part)
Clay
(1 Part)
Water
(1 Part)
Tamped Hemp Model Process
Step 1: Screw temporary framework onto round stud poles
Step 5: Unscrew framework from round poles, let hemp mixture cure 4-6 weeks
Step 2: Tamp hemp mixture in 1-3 inch layer increments
Step 4: Repeat steps 1-2 until whole wall is filled
Step 6: Apply Earth Plaster evenly
Step 3: Let hemp partially set, then move framework up
Material Index: Slip and Chip
Chip & Slip walls need a permanent lattice attached to the pole frame to hold the chip/slip mixture. Our model uses tree branches spaced 2” O.C. for the lattice. We tested two wood chip types: forest floor debris (bark, chips, leaves, branches) and chopped branches. The forest floor is naturally found on-site, while chopped branches need extra labor or machinery to produce.
Chip and Slip Mixture:
• Forest Floor (1 Part)
• Clay Slip (2 Part)
• Wood Chips (1 Part)
Lattice:
• Wood (Branches)
• Nails
Earth Plaster:
• Lime (1 Part)
• Clay (2 Part)
• Redwood (1 Part)
• Sand (2 Part)
• Water (1/2 Part)
Slip and Chip Model Process
Step 1: Place wood branches on round pole stud framing
Step 5: Once the slip and chip mixture is dry, apply earth plaster to exterior side of lattice
Step 2: Nail in branches to the outside of the round poles
Step 4: Let the slip and chip mixture settle and dry
Step 3: Fill in the slip and chip mixture and tamp it down lightly
Material Index: Wattle and Daub
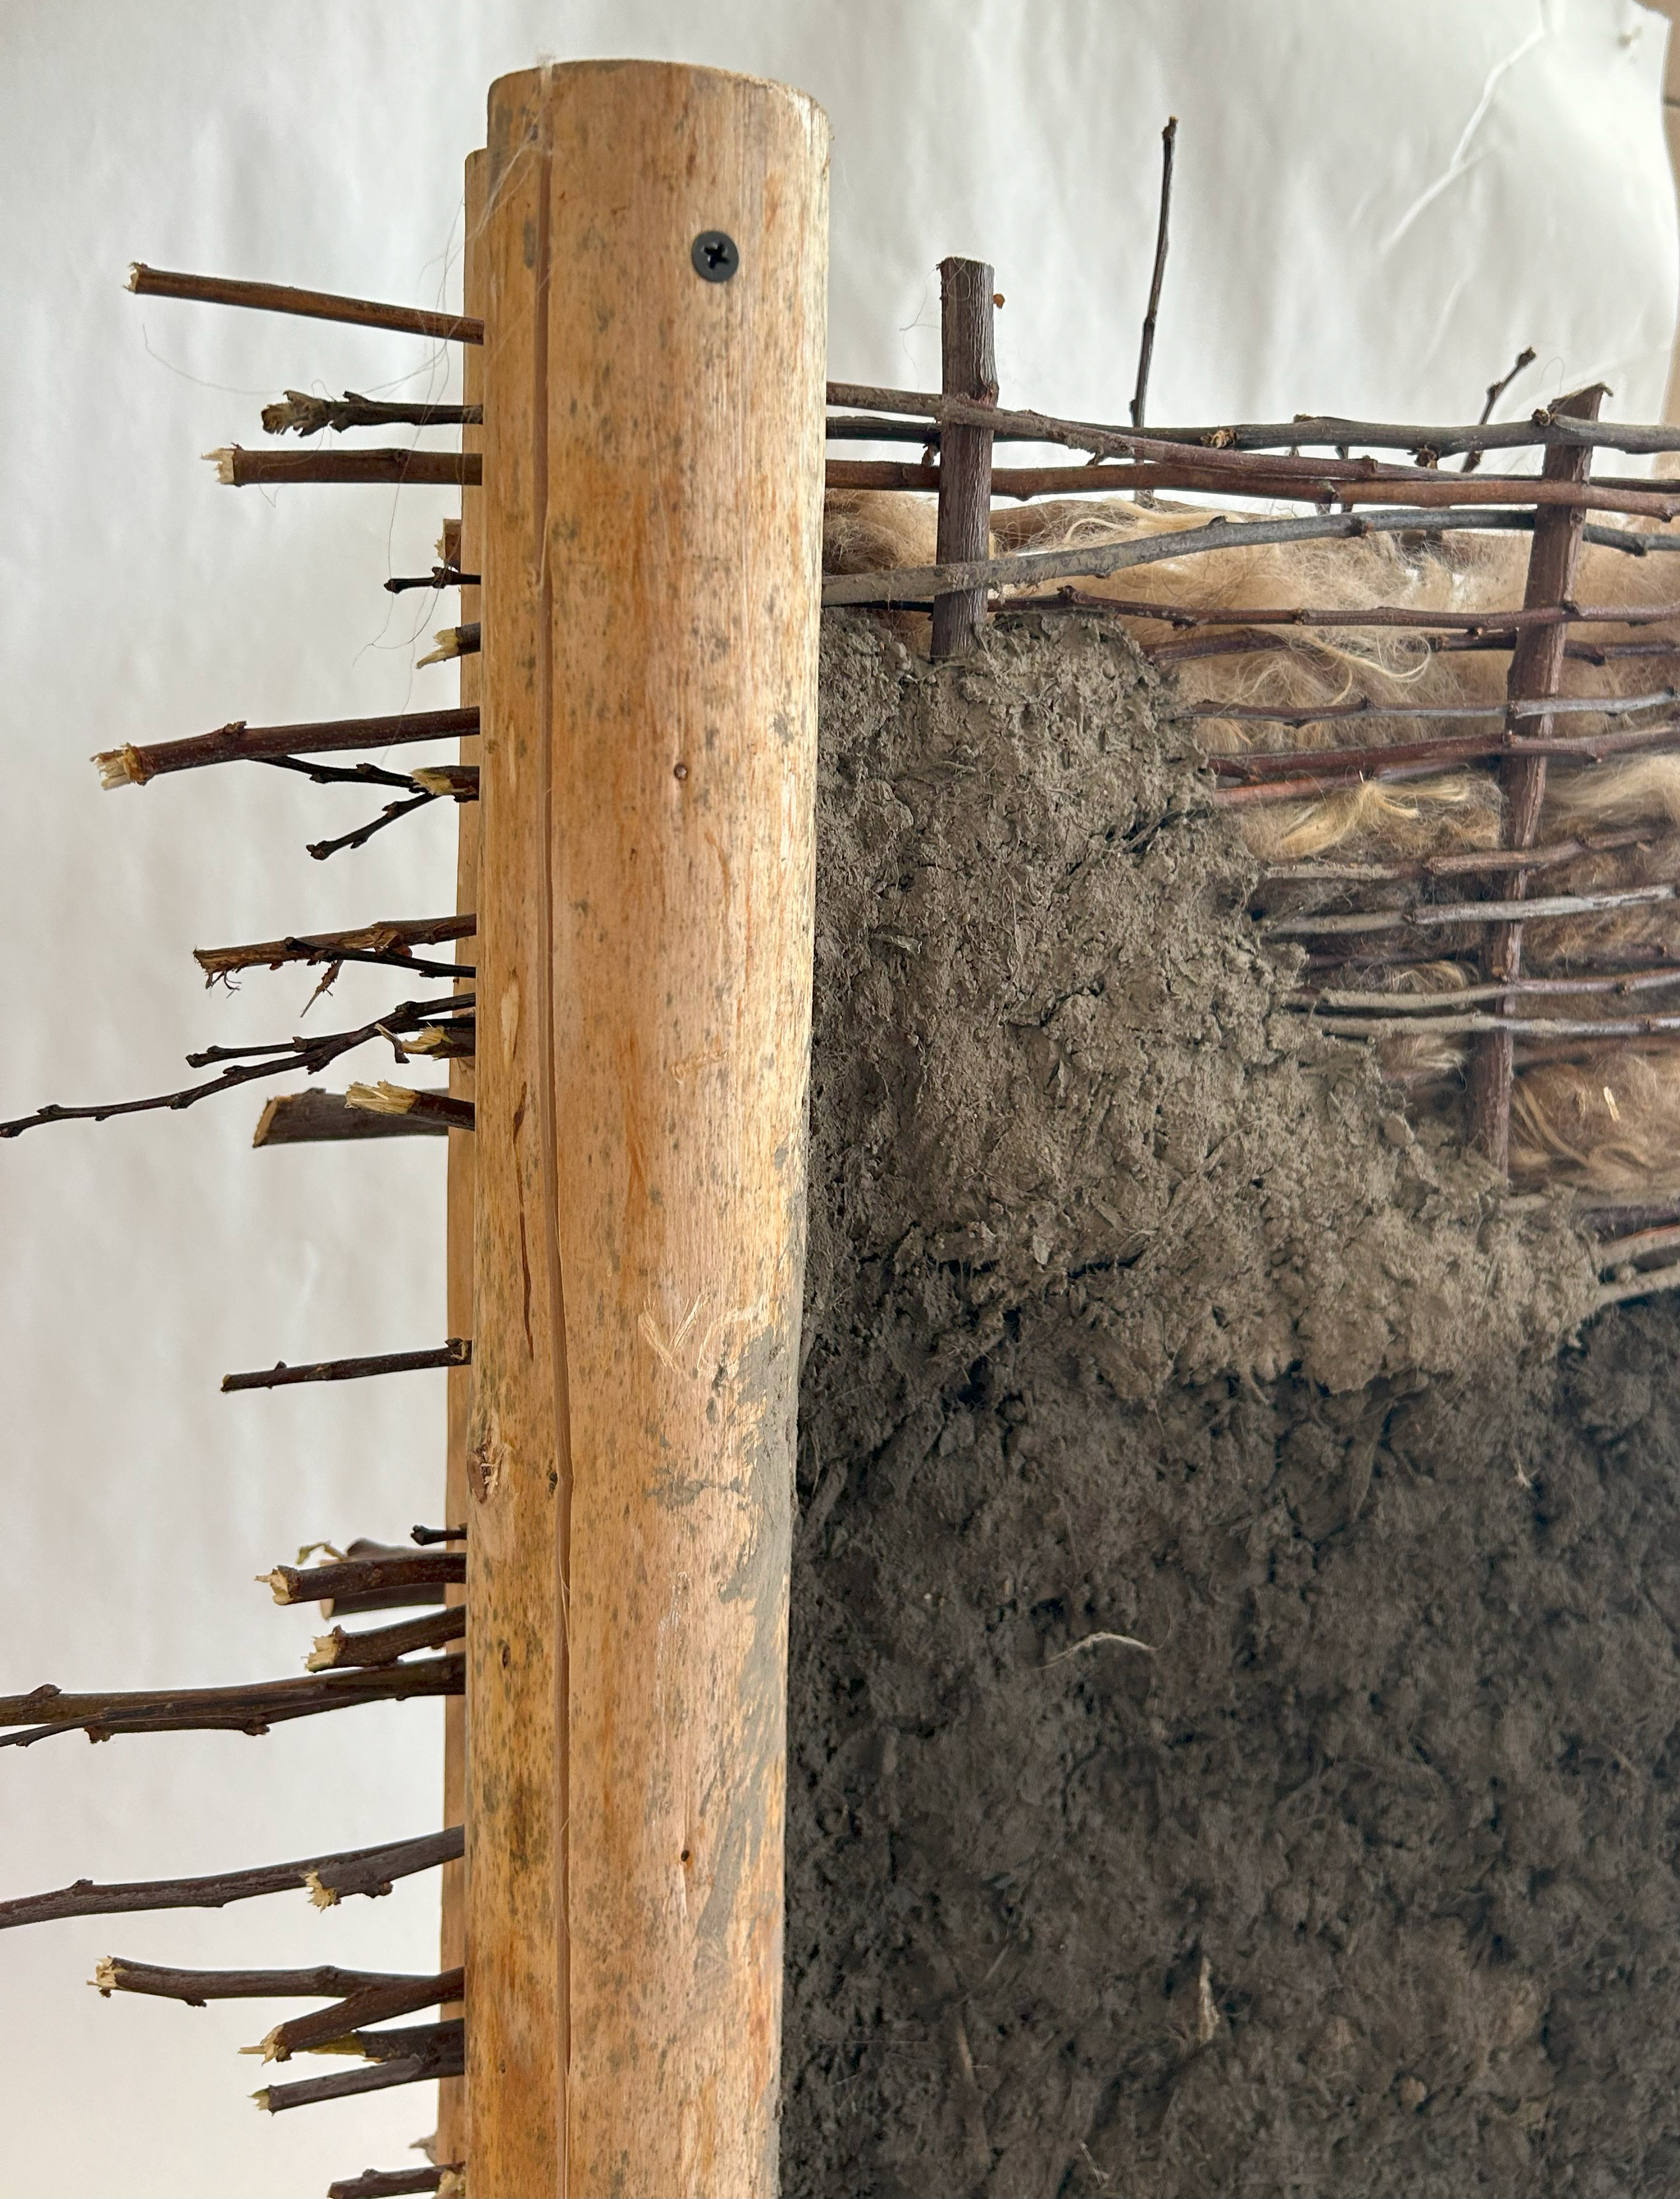
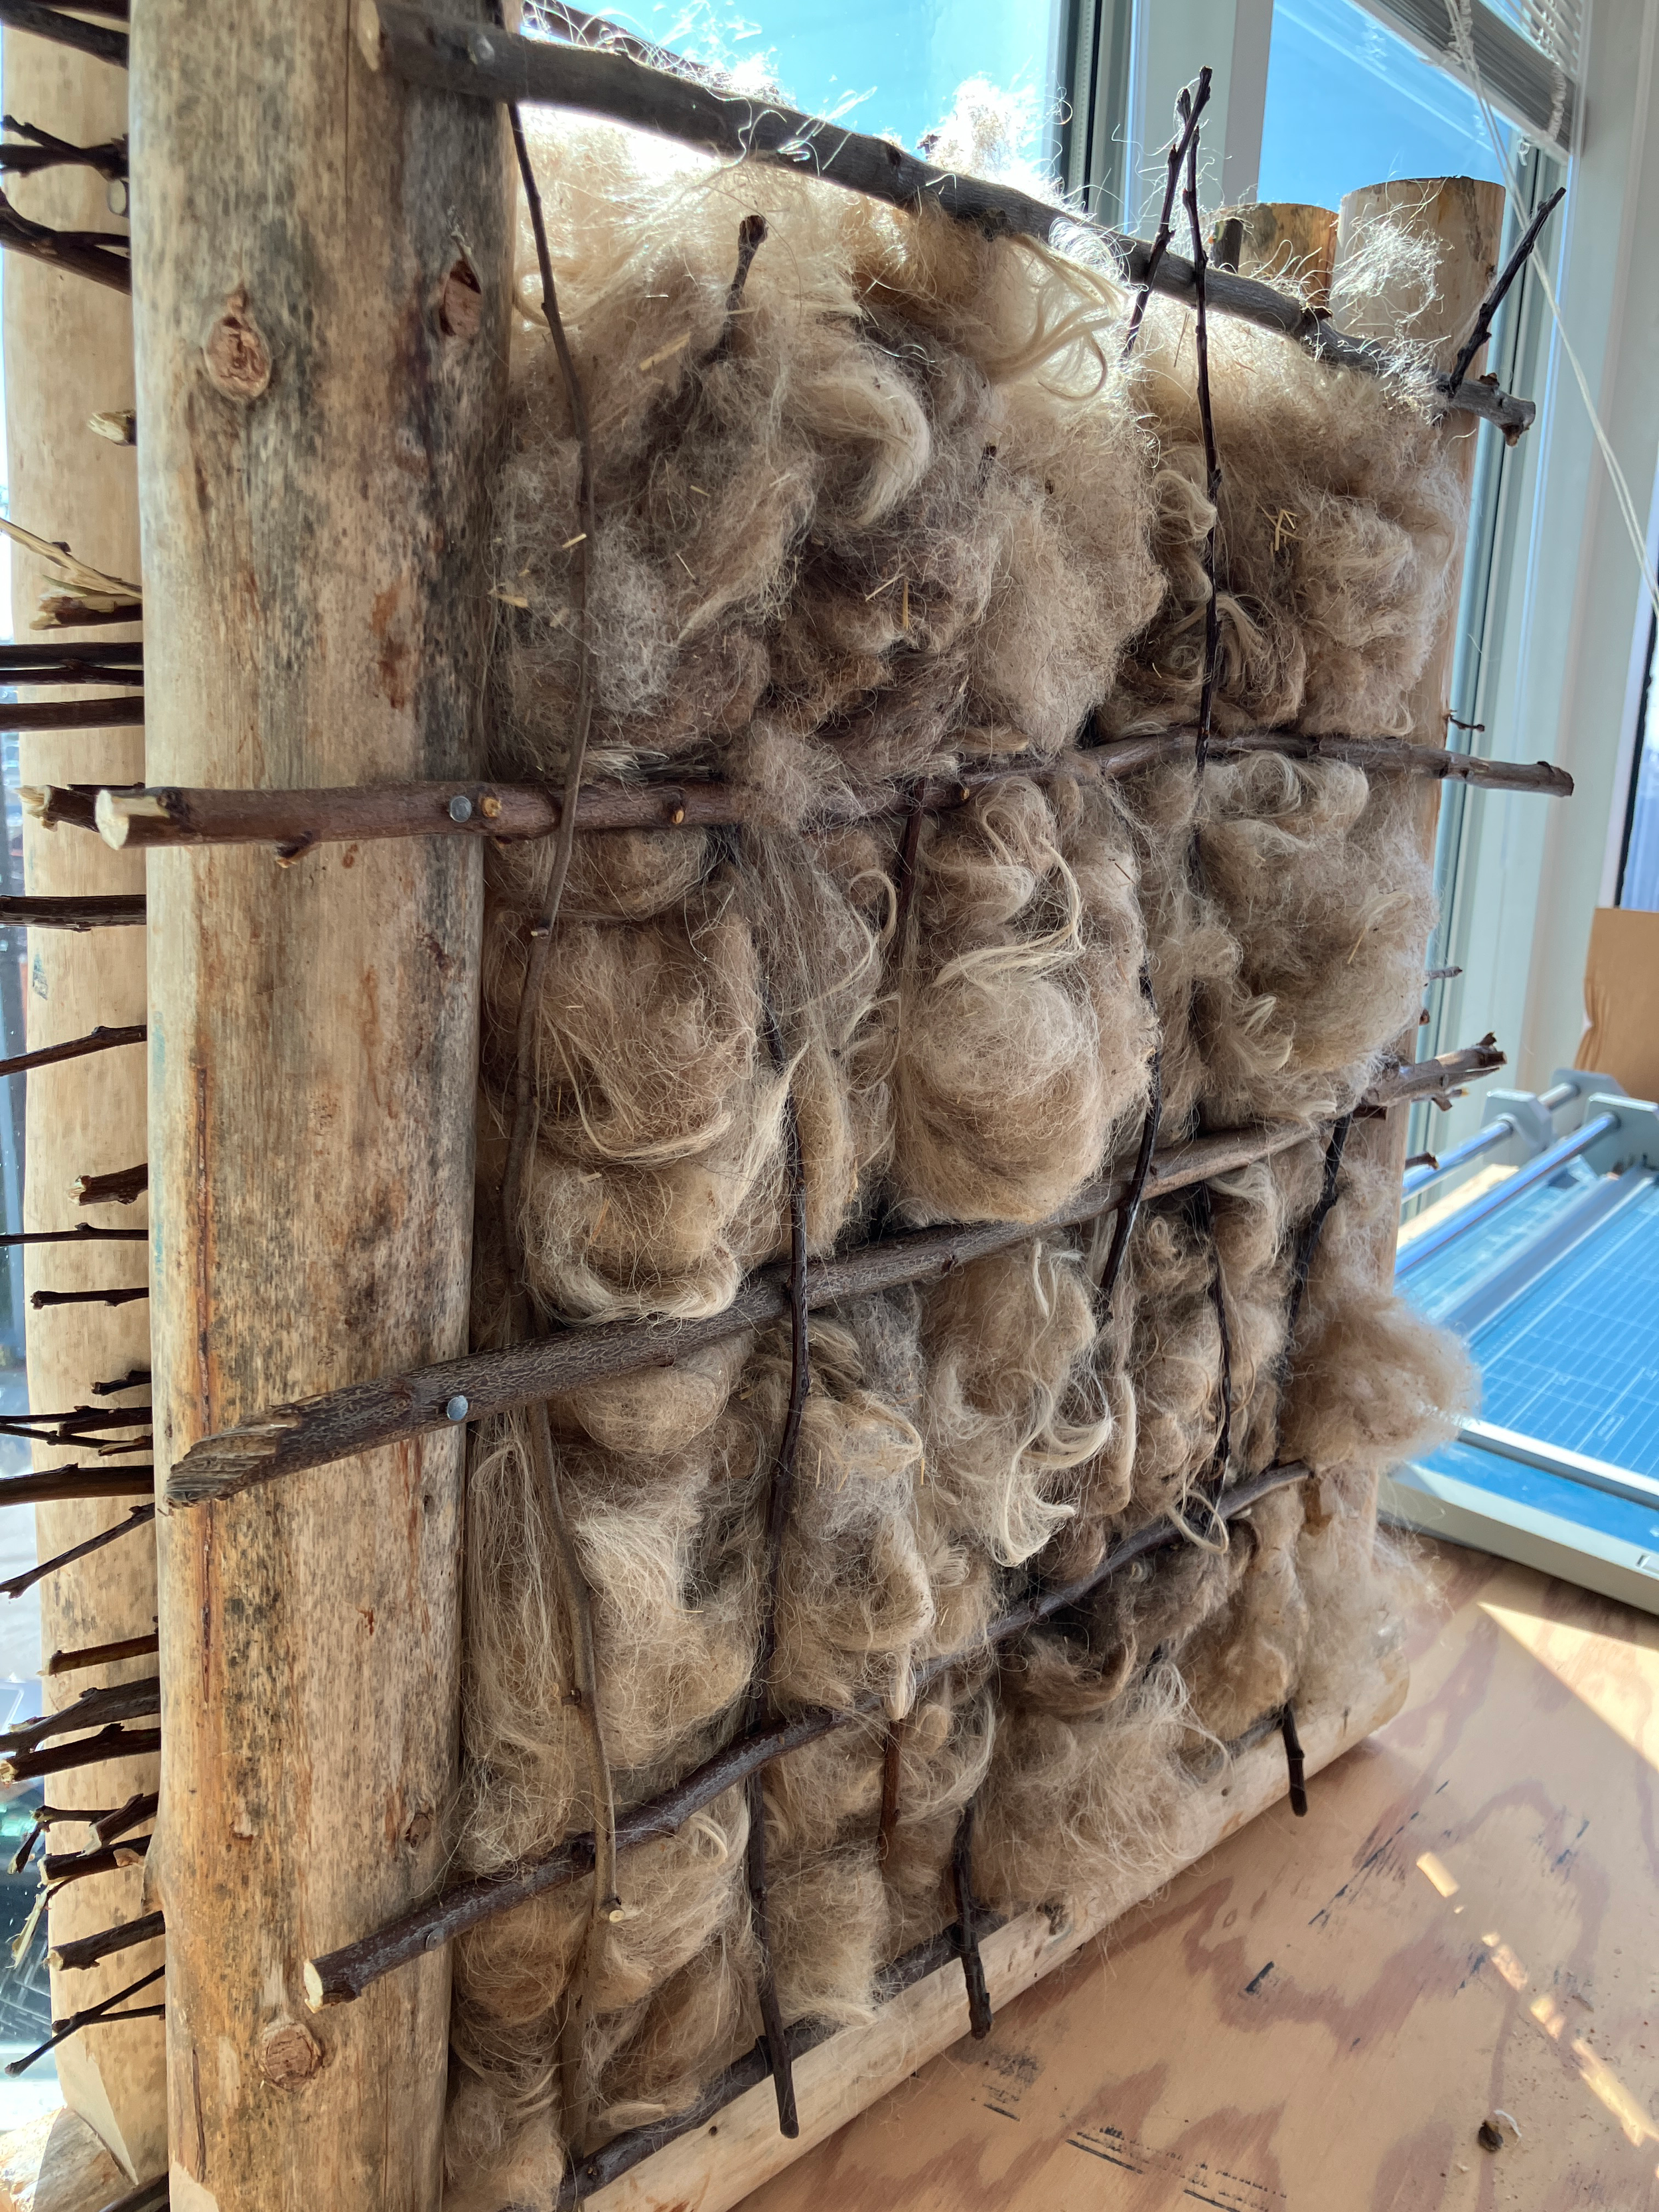
Wattle & Daub is an ancient building method using woven wooden lattice (wattle) coated with a mud-clay mixture (daub). Our model features a dual round pole frame holding the wattle in place. We used a daub mix of clay, wool, and redwood bark for tensile strength, applying it to one side. The other side contains sheep’s wool held by a lighter wattle formwork, which is then covered with a wool-redwood-clay daub.
Daub Mixture:
• Redwood Bark (1 Part)
• Clay Slip (1 Part)
• Sheep’s Wool
Wattle:
• Wood Branches Horizontal/ Vertical
Earth Plaster:
• Lime (1 Part)
• Clay (2 Part)
• Redwood (1 Part)
• Sand (2 Part)
• Water (1/2 Part)
Wattle and Daub Model Process
Step 1: Weave vertical branches between horizontal branches
Step 5: Apply Earth Plaster evenly
Step 2: Nail in horizontal wood branches to one side of framing, and weave in horizontal branches
Step 4: Apply a generous amount of Daub mixture to the opposite side of wattle
Step 3: Apply Sheep’s Wool between the two wattles


